
Editor’s Note: This story originally appeared on The Penny Hoarder.
Buying a house is an expensive endeavor. You might spend years saving for a down payment to earn the pleasure of paying a mortgage, property taxes and homeowners insurance each month. But the final price can get even higher when you factor in the maintenance and repair work that a house needs over time.
An easy way to save money is to tackle repairs around the house yourself. Some projects are easier than others, and there’s definitely a learning curve for novice handy people. But the numbers don’t lie: You’ll save much money by tackling DIY home repairs, whenever you’re able.
In fact, the U.S. Census Bureau’s American Housing Survey found that homeowners can save big time by doing repairs and remodels themselves. For example:
- DIY bathroom renovations: $6,775 in savings
- DIY kitchen remodels: $10,450 in savings
- DIY fence installation: $2,300 in savings
Those are big jobs that require a lot of skill. Still, you can save money if you paint the bathroom yourself and learn how to fix leaky faucets.
When you tackle home improvement projects, you’re doing more than just saving on the cost of a professional contractor. You’re also adding value to your house when it comes time to sell, and, in the case of energy-efficient home improvements, lowering your monthly utility bills.
So which house repairs are safe to tackle on your own, and how much money can you save?
1. Caulking
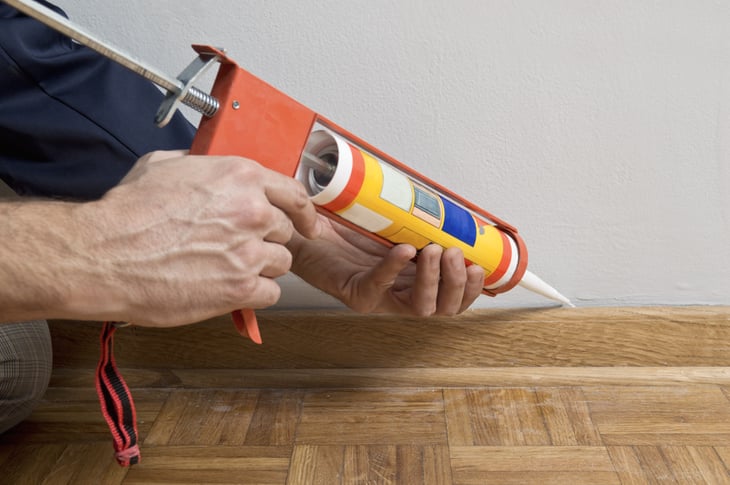
Caulking is one of the easiest repairs to tackle yourself — and has a real impact on your energy bill. The Department of Energy estimates it takes a couple of hours to caulk any air leaks in your home, and you’ll spend no more than $30 on supplies (less if you already own a caulk gun).
Or you can leave it to a professional, who might charge $250 to $400 to caulk your home.
2. Patching Drywall
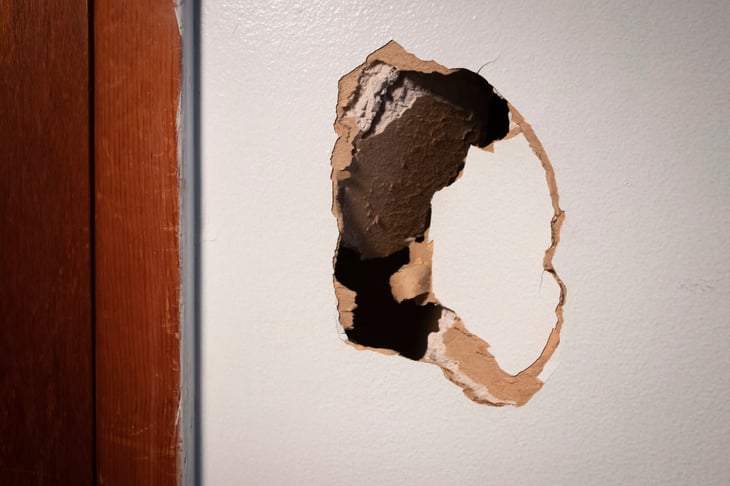
Patching drywall might mean filling a small hole where a picture used to hang or repairing a larger hole you accidentally put in the wall when moving a couch. Either way, it’s pretty easy to repair yourself.
Check out this guide for repairing drywall — they’ve even put together a shopping list for when you hit up the hardware store.
3. Painting
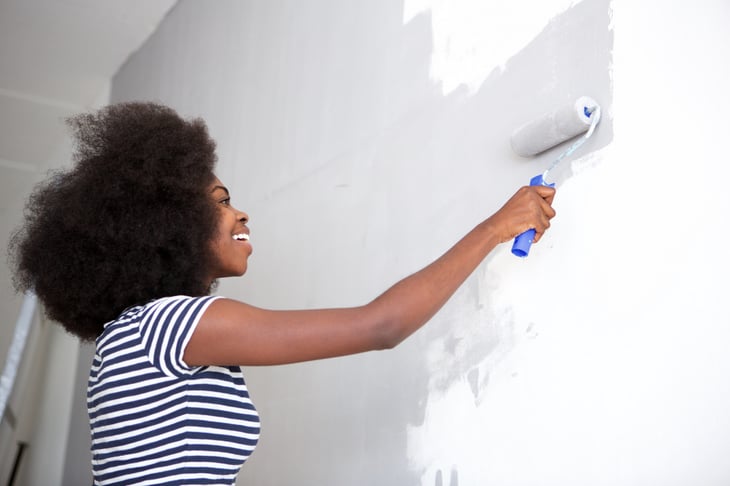
On average, homeowners pay professionals about $2,000 to paint the interior of their home (plus the cost of paint). It’ll cost even more for larger homes or if you want the ceilings and trim done as well.
While painting can be a long, labor-intensive process, you can save a lot of money by tackling the painting yourself. Just go at it one room at a time, maybe one a weekend, until it’s done.
4. Painting Cabinets
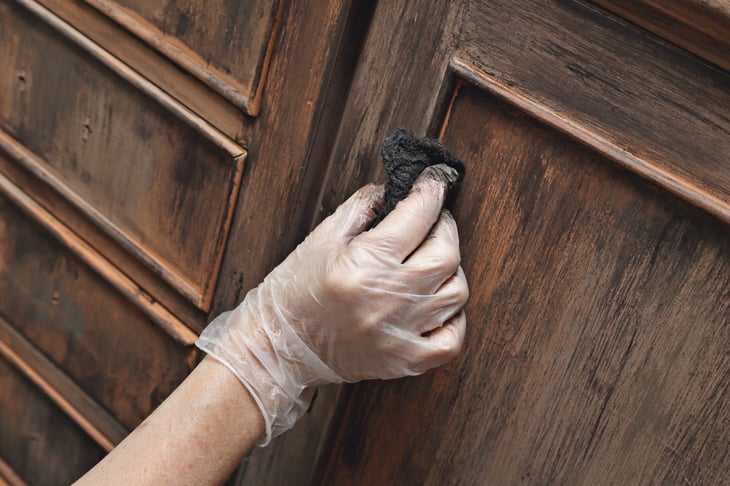
New cabinets are the most expensive part of a kitchen remodel. The National Kitchen & Bath Association estimates they make up 28% of your total renovation costs.
But you can give new life to your existing cabinets with some new hardware and a fresh coat of paint. Be warned: Painting kitchen cabinets is a time-consuming project, but the payoff is usually worth it.
5. Fixing a Running Toilet
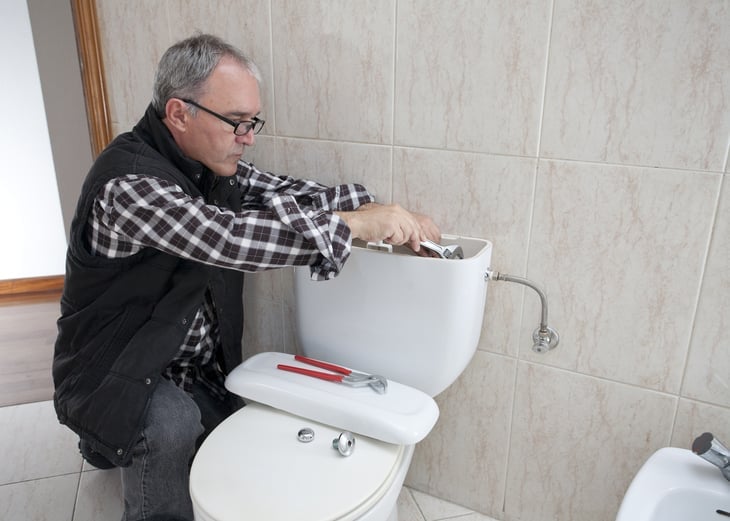
Knowing how to fix a running toilet is homeowner 101; just check YouTube for a how-to. Usually, you just need to replace a leaky flapper, which is less than $10 at Lowe’s. If you call a plumber out, be prepared to pay $100 or more just for the service call.
Want to save even more money in the bathroom? Switch to a low-flow toilet.
6. Fixing a Leaky Faucet
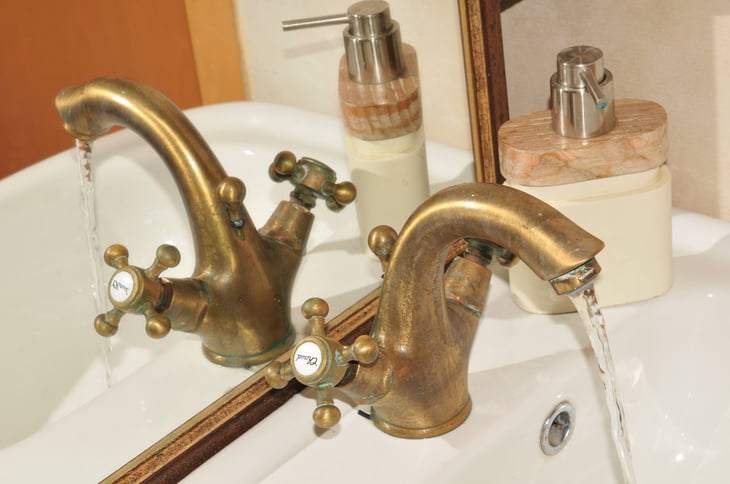
A leaky faucet can have a number of causes, but most can be fixed with a wrench, screwdriver, pliers and a simple replacement part, usually a $2 washer. Just make sure you know the actual cause of the leak before you start any repairs.
If you can’t pinpoint the source of the leak, you may want to hire a plumber, but be prepared to pay $200 to $330 for the service.
7. Unclogging a Toilet
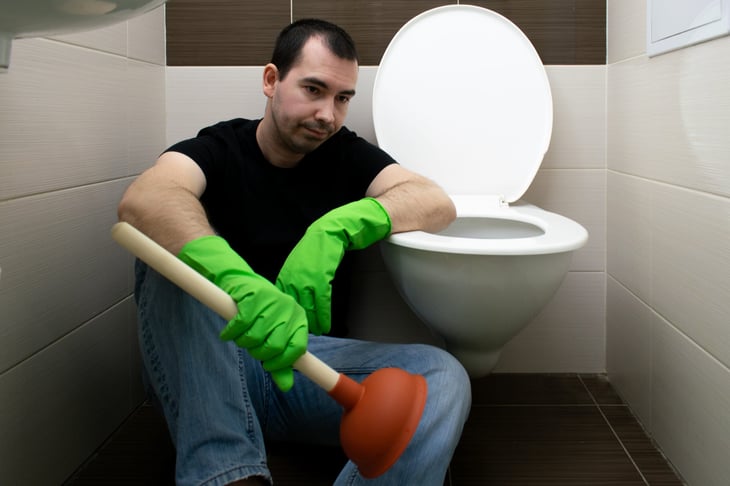
No one wants to admit it, but we’ve all almost certainly clogged a toilet in our lifetime. A plunger is the best tool to unclog a toilet, but even if you can’t undo the clog with the plunger, you don’t need to call up the plumber straight away.
Instead, a plumbing snake from the local hardware store could do the trick. Family Handyman offers a great step-by-step guide.
8. Unclogging a Drain
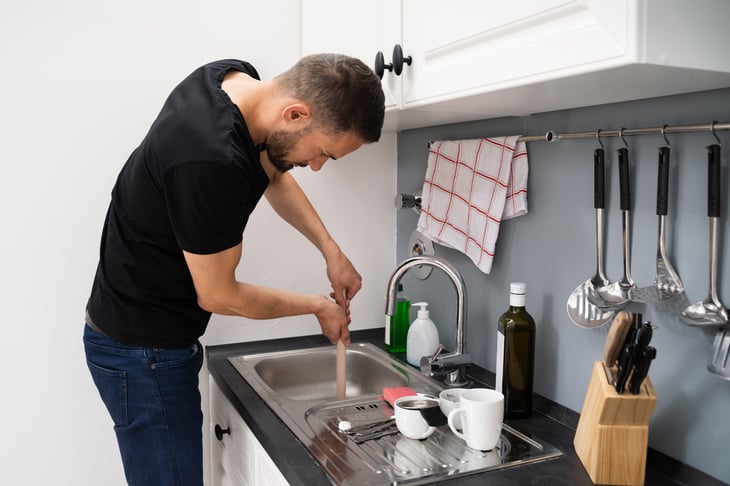
Toilets aren’t all that need unclogging. If your sink or bathtub drain is backing up, the same plunger trick (please use a clean one!) might work.
If not, skip the Draino (despite the brand’s claims, plumbers are emphatic that it can cause damage to your pipes over time). Instead, bust out the drain snake again. If the clog isn’t too deep, you might be able to handle it yourself.
9. Unclogging a Garbage Disposal
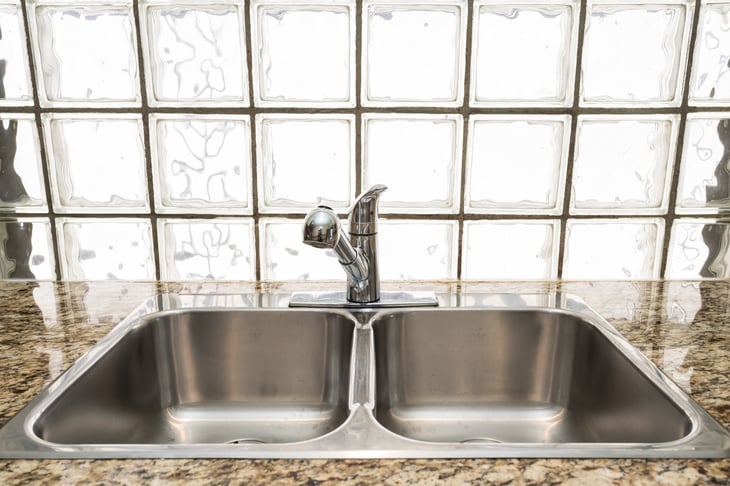
If the clog concerns your garbage disposal, you’ll need a different tactic. This approach requires nothing but baking soda, vinegar, a plunger, a pair of pliers and a flashlight — all tools you probably have around the house.
Or you can leave it to the professionals and pay about $250 for repairs.
10. Fixing Low Water Pressure

Taking a shower with low water pressure isn’t just inconvenient; it could also be a sign of a leaky pipe. If you need to replace any pipes to fix your water pressure, leave that to a professional plumber.
But before you schedule an appointment, try adjusting the pressure-reducing valve near where the main water line enters your house. Sometimes all it takes is a clockwise turn to increase pressure.
11. Replacing a Shower Head
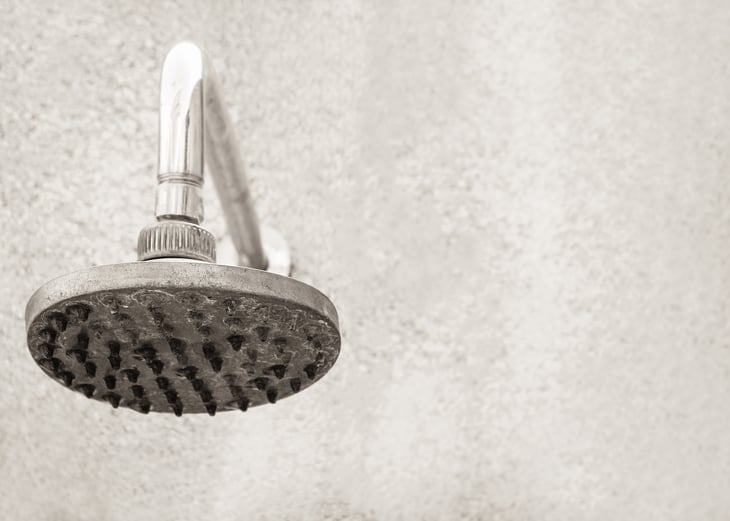
If your light bathroom upgrade includes a new shower head, you can try to install it yourself. Here’s a helpful how-to video.
Installing it on your own can save you $100 or more on plumbing costs — and if you go with a water-saving shower head, you’ll see even more savings on your water bill.
12. Fixing Creaky Floors
Creaky floorboards might just need a bit of lubrication. Solutions can vary depending on the source of the problem and type of flooring, but This Old House has a good guide regardless of the issue.
Though the work may be a little more challenging, you can save a great deal by trying to fix your creaky floorboards yourself. The average professional floor repair costs $40 to $60 per square foot.
13. Fixing Squeaky Doors
Doors can also be a source of unwanted sound. You might reach for the WD-40 to remedy a squeaky door hinge, but Bob Vila advises against that. Their solution instead? Mayonnaise or steel wool.
14. Installing a Light Switch
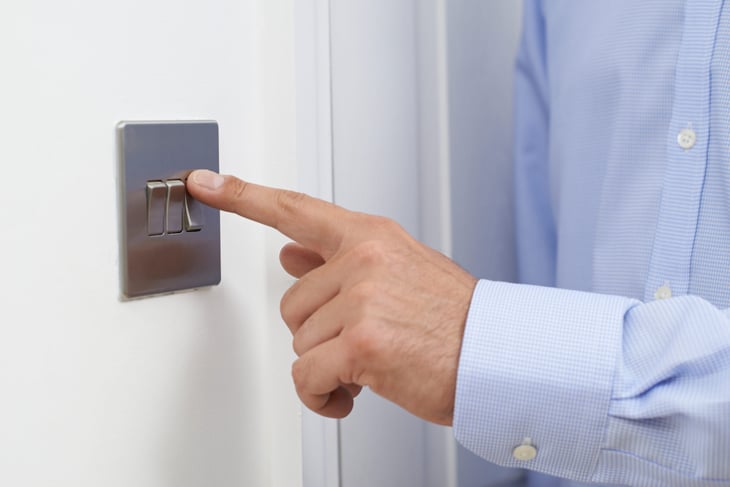
Paying an electrician to install a light switch can cost over $100, but you can tackle the project yourself in under an hour with a screwdriver. Just make sure you know what kind of light switch you’re working with; Dummies has a detailed guide for various types.
15. Installing a Light Fixture

Installing a light fixture yourself is possible, but you should only tackle this project if you’re a little more experienced and comfortable working with your home’s electrical.
Home Depot offers a video walk-through (and, hey, you can buy a new fixture there as well!), but if you’re not confident you can handle this project between yourself and a friend, it’s safer to call an electrician.
How to Learn Home Repairing Basics
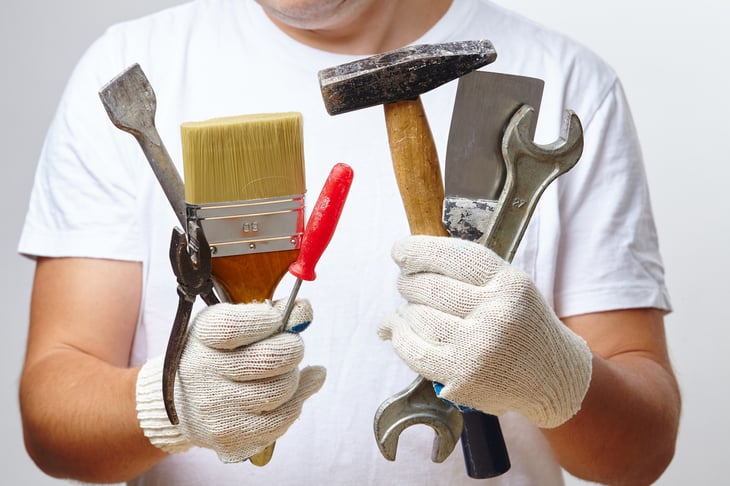
Learning basic home improvement skills can be daunting. If you don’t know the right way to hold a wrench, it’s tempting to just call up the plumber. But don’t sell yourself short. You just need a little time and some quality resources to learn how to do it yourself.
Here are some easy ways to learn basic DIY home improvement:
- Online: Throughout this guide, we’ve linked out to helpful resources for learning specific home repair projects. You can also scour YouTube for tutorials from actual contractors like plumbers, electricians, and carpenters.
- Classes and workshops: Hardware and home improvement stores regularly host free in-person workshops. You can also check out nearby community centers and community colleges for affordable classes.
- Ask family, friends, and neighbors for help: If someone in your life is handier than you, ask them to teach you what they know. You can repay them for their time with dinner, a cold beer, and maybe a helping hand for their next few renovations.
- Volunteer: Getting hands-on experience with a group like Habitat for Humanity is a way to learn helpful skills and make a difference in the world.
Tools Everyone Should Have for Basic DIY Home Repairs
Ready to start tackling your own repairs around the house? Here are some basic tools that every homeowner should have (or at least learn to use as they can afford them):
- Hammer
- Multibit screwdriver (or at least a flathead and a Phillips)
- Nails and screws
- Cordless drill
- Tape measure
- Retractable utility knife
- Putty knife
- Paint brushes
- Pliers
- Ladder
- Stud finder
- Socket wrench set
- Utility lights
- Saws (circular, hack)
As you tackle projects, you may find that you need to purchase specific tools. Over time, your basement or tool shed will be well stocked for any repair.
Which House Repairs Should You Leave for Professionals?
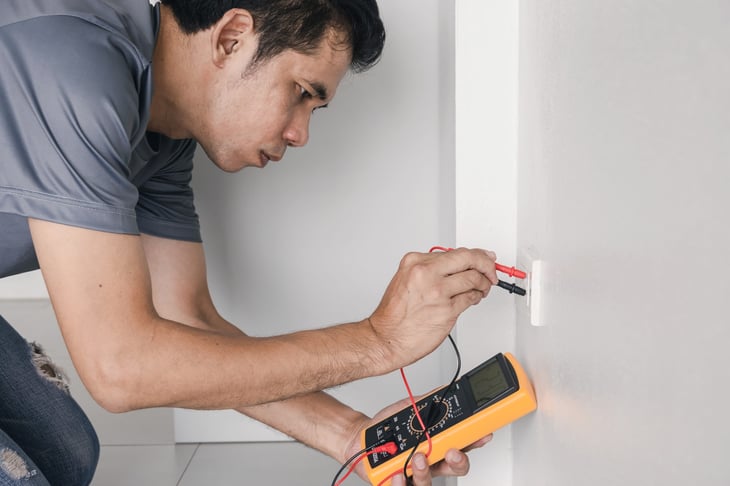
While DIYing repairs around the house can save you a lot of cash, certain projects are better left to professionals. In general, it’s better to leave anything beyond basic plumbing and electrical work to professional contractors. If something requires an expensive tool that you’d never use again, it might cost just the same (or even less) to contract the work out.
Simple mistakes on more complex projects could actually require even costlier fixes — or could just make your house less efficient. Other projects might be unsafe for the novice handyperson.
Use your best judgment on each project, and never feel ashamed when you need to call a professional for help. That’s what they’re for.
